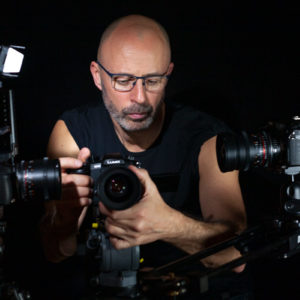
Producing highlight videos is something clients regularly book me for. In this case study, I explain the process when ‘Happy Ltd ‘ commissioned me to film a series of workplace presentations at etc. venues in London City. The one-day seminar focused on creating happy workplace environments.
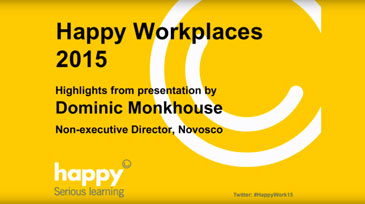
Producing highlight videos from presentations
On this occasion, the client booked me at short notice and did not ask me to visit the location in advance. Ideally, I would always carry out a recce before any filming day. A recce helps establish how to set everything up to achieve the best possible picture and sound quality before the day itself.
Making the most of the filming venue
As soon as I arrived, I checked with the organisers to understand the day’s schedule. My priorities were to quickly identify the best filming position, improve the set’s appearance as much as possible, and secure a clean audio feed. In my experience, arriving early is the single best way to ensure a filming day runs smoothly.
Managing the light
Venues are often chosen for reasons unrelated to what works best for filming. In this case, the presenters were standing in front of a window. Filming through a window is one of the most challenging situations for a camera because the exposure system tries to balance the entire image rather than the subject alone.
Fortunately, the windows had smart Venetian blinds. I drew them fully closed and relied on the room lights to properly illuminate the presenters. Adding artificial lighting would have increased costs significantly and disrupted both the presenters and the audience. Therefore, using the available light was the right practical decision for this project.
Visual aesthetic
To improve the visual look of the shots, I moved a ‘Happy’ branded pop-up banner from the reception area to a position between the two large projector screens. This reinforced the ‘Happy’ branding throughout the day’s filming and photography. In some situations, you can also rearrange furniture or reposition the presenter to further improve the shot. On this occasion, the banner was the most effective option available.
Sound recording
The venue provided a basic audio mixer, two radio microphones, and a roving microphone. To capture a clean audio feed, I recorded each channel from the mixer directly onto my Tascam digital audio recorder. Each presenter wore a radio microphone feeding via a receiver to the mixer, the room speakers, and my recorder simultaneously. Radio microphones were ideal here because the room was large and full of people throughout the day.
How will the presenters move?
Over the course of the day, a range of professionals shared their insight into creating happier workplaces. Some presenters stayed quite static. Others tested my panning skills considerably as they moved around the stage. Each presenter also used slides on two large projector screens to support their talk. Consequently, I positioned myself to maintain an uninterrupted wide field of view throughout, allowing me to react to whatever happened without losing the shot.
Filming extra shots to help the edit
As an experienced editor, I always think about how footage will cut together while I am filming. Throughout this day, I made sure to capture reaction shots of the audience. I knew these would prove useful for covering vision edits later in the post-production process. Starting to film as early as possible and building a range of different shots also gives you valuable flexibility in the edit. Group icebreakers and introductions, for example, offer a natural opportunity to move around the room and film angles that become harder to access once the main presentations begin.
Filming with two cameras
Using two cameras is one of the most effective ways to produce high-quality highlight videos, even when working alone. Setting one camera on a locked-off wide shot frees the second camera to capture close-ups and mid shots throughout. Furthermore, syncing all the footage in post-production and cutting between the two angles significantly improves the final result.
Video editing
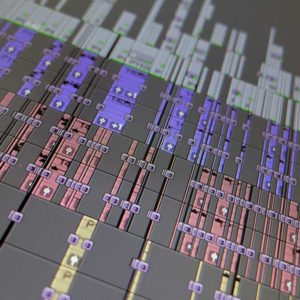
After the filming day, the client asked me to edit each 30-minute presentation into a 2- to 3-minute film suitable for sharing on their website via YouTube. I watched each speech several times and edited the audio down to the most concise and impactful sections. To ensure smooth transitions in vision, I used the presenters’ PowerPoint slides and audience cutaways to cover each edit point. Additionally, I added an opening branded graphic with an introductory title for each presenter, giving the finished films a polished, professional look.
If I can help you with producing highlight videos, please get in touch via my website contact form.
You might enjoy reading these related blog articles:
Professional talking head video production: A complete guide