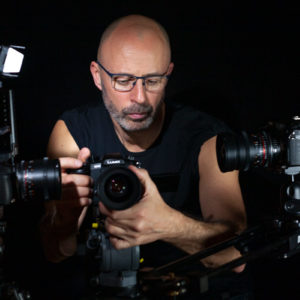
As a freelance video editor, I am frequently commissioned to work on editing filmed interviews. I also film a wide variety of interviews and panel debate-style projects. My productions have ranged from filming and sound recording single interviews to ten-person panel debates.
Editing filmed interviews
Editing my clients’ own filmed interviews involves managing their media which may have been recorded by one or multiple cameras, their associated microphone feeds and/or sound mixer recording. In addition, their media may feature one person or many people. My process of editing such media usually involves reducing the duration of their recorded content into a concise piece of media so that it ultimately delivers to a client’s project brief.
In this article, I give an overview of how best to manage the interview or debate post-production editing process, focusing on managing the different stages of audio editing for optimum results.
Preparing your media
Ensure any media supplied for editing all plays smoothly in your editing project on your non-linear editing system and that it has been transcoded (if necessary). Before starting the editing procedure, make sure that all of the media has been backed up on one or more different storage devices to protect this media against any possible equipment failure.
Audio level adjustments
Before you start editing filmed interviews, check the master audio levels for files that have been supplied. Consider if these master clips or audio recordings need their levels adjusted before starting the editing process. Adjusting the audio level of a master clip or audio recording before editing can save time should you need to adjust each edit clip or audio track later.
Timeline syncing
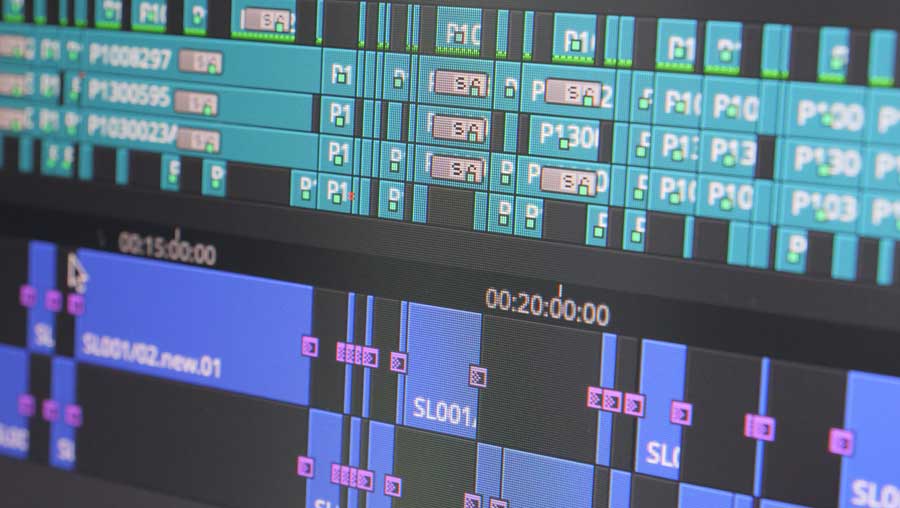
If the interview submitted for editing has been filmed with multiple cameras, the priority is to sync up all the vision with all the sound recordings. Create one edit master sequence where you have all the sound and vision on different tracks all synced up accurately to each frame. If you are using timecode or a clapper board to sync all the footage, double-check that it’s all perfectly in sync at the start and the end of the edit sequence.
Make copies of your edits
Make a copy of this master sequence and incrementally rename the copied sequence as you progress with each editing stage. At each significant editing stage, duplicate the timeline/edit sequence and incrementally rename the sequence, always working on the latest copy. This way, you can always revert to the previous edit if need be.
Working with master sound
Once your timeline with all the footage is in sync, identify which audio tracks have the master sound. If the recorded sound has been done with an external audio recorder or is the main sound on one camera only, then you can deselect the monitoring of any additional tracks. Then double-check that the master sound is in perfectly accurate frame sync with the vision.
Managing audio sync relationships
You may choose to keep all the original audio tracks in the timeline as they could help identify that the sound remains in sync with the vision throughout the editing process. For example, the external audio recording might be of a different timecode and not have any direct relationship with the vision. Only if you are confident of managing your sync relationship throughout the future edit, should you remove any non-essential audio tracks, thereby leaving only the master audio in the sequence.
Timeline editing
Once all the sound and vision tracks are in sync, you can then start playing through the timeline and editing it down to meet your brief and any other requirements, e.g. key messages, performance or required duration.
If you filmed the interview yourself, you would already have a sense of the highlights and any content which may need to be removed. If you did not and have not seen or heard the interview previously, you may wish to play it through and listen to it first to help you gain a sense of the content before starting the edit.
Visualise the final edit
WheneEditing filmed interviews it would be best if you also considered how your edits will work visually early on in the process. If the interview has been filmed with multiple cameras (say two cameras for a single person or three cameras for a two-headed interview) then you know that you can make any edits work by cutting between camera angles.
Video transitions
If the interview has been filmed with one camera only, then your edit options include cutting on a resized higher-resolution shot (i.e. 4K or 8K filmed footage when delivering to HD for example) so that the resize happens at the edit point. Other options include using cutaways or other shots to cover the edits and avoid showing any ‘jump-cut’ edits. You may also need to assess any facial expressions or face, head, body, and hand movements to make any edits work as best visually as possible.
Avoiding jump cuts
A jump cut is where the sound and vision have been edited at the same point (also known as an AV cut). Some people use jump cuts for stylistic intent like moving through time. Bloggers also use jump cuts for the speed of editing. Jump cuts are not used in any serious interview edits as they are visually distracting and demonstrate a lack of editing craft skills.
Once you have a plan as to how any future edits will work, you can play through your timeline and start editing it down to your clients’ requirements. Aim to make the content engaging, concise and relevant as required by the brief.
Consider if you need to change the order of your edit. For example, were any interview pick-ups re-filmed at the end of the session which could be used? Have you used the best of any takes available?
Trimming audio
Some people intersperse their speech with non-words such as ‘um’ or ‘ah’ or some may stutter or leave a lot of gaps between words. Editing down or removing these superfluous sounds, words, gaps or phrases requires finer frame-based editing and you may prefer to use your editing software trim tool for this. How much the interview can be fully tightened will depend on how much time you have available to edit. You may be able to make all the very fine edits work visually with cutaways or, where you have two or more people featured, other speakers’ reaction shots for example.
Improving sound edits
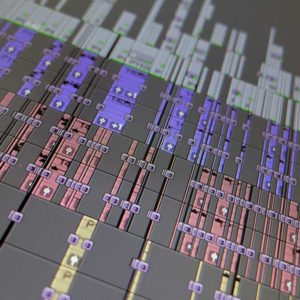
Once you have edited the interview roughly to the time brief, you may consider alternating your audio clips across different tracks. This alternation can help improve the final sound especially if you plan to add dissolves or mixes to every audio transition. For example, if all your audio clips are on A1 and you add mixes to each transition, you will then be mixing across the adjoining clips which may introduce unwanted sounds such as the beginning or end of the next spoken word. For the best results, by alternating all your audio clips across different audio tracks and then adding a mix or dissolve to each audio transition, you will be then mixing up and down from silence.
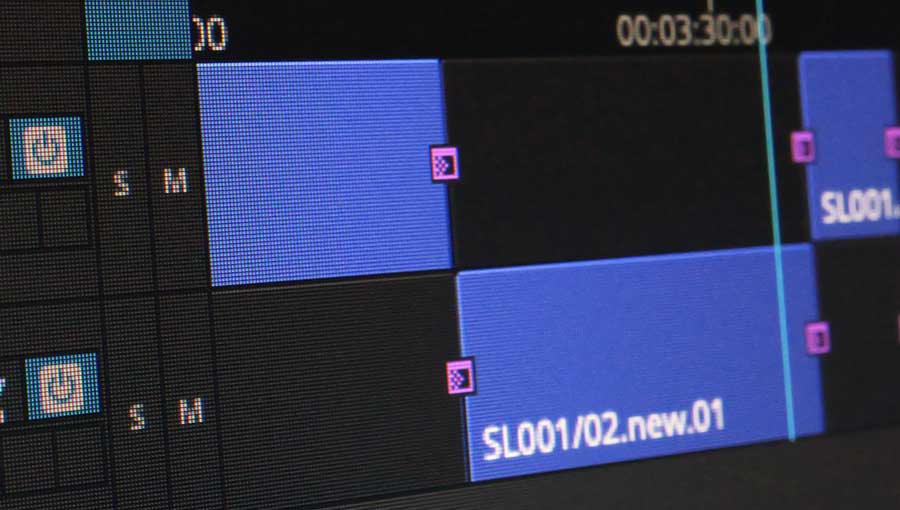
Audio dissolves
To speed up audio mixing you can select the whole timeline and add mixes to each transition once you are mainly happy with the audio edit. Any duration mix that works for your edit will depend on the quality of the sound, any background noise and how finely you have edited the audio. After you have applied all the mixes or dissolves to each track, review each track, in turn, to make sure that no unwanted sounds have been added, cut short or affected by your mixes.
Final audio work
Once the audio edit has reached a standard you are happy with, you can then start making the vision edits work. While working on the vision, you may need to re-adjust the audio to ensure the best edits. At this stage of the edit, I usually prioritise the vision before completing the sound edit (for example, by adding any music or additional sound effects or wild track)
Further fine-tuning work on the sound may involve adjusting the levels of quietly spoken words or reducing the levels of loudly spoken words. You can add a combination of invisible edits, keyframes and dissolves to individual clips to help smooth out the peaks and troughs of audio levels. Be aware of the technical standards you are delivering to and set your master audio levels correctly
Adjusting EQ
If the supplied audio is unsuitable, unclear or does not match the other audio supplied (or even for creative effect) you could adjust the audio EQ and then apply this adjusted audio effect to different elements or parts of your sequence. Whole tracks or selections of clips can easily have the same creative effects, being applied by simple actions and saving edit time.
Listening to the final edit
When editing filmed interviews it is always advisable to play the whole edited sequence through many times to ensure the audio levels are set correctly and that all the edits are as smooth and as inaudible as possible. Repeated viewing helps you craft your edit by making minor adjustments if necessary so that the final version is the best it can possibly be before sending it on to your client.
