Video editing tips for improving a video edit
You may want to explore some of these video editing tips to improve your video editing or video editing session.
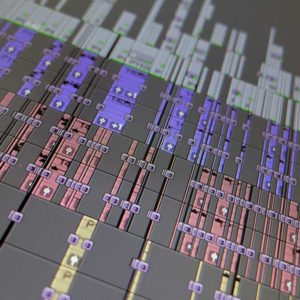
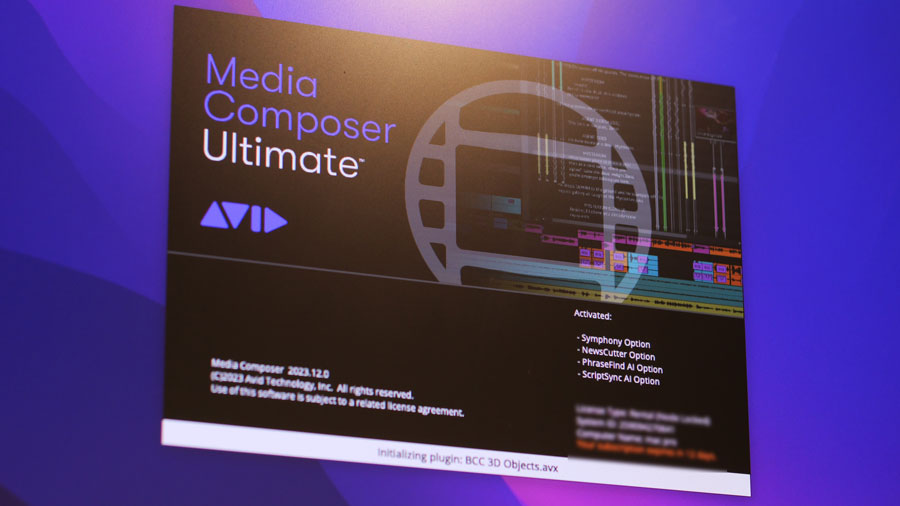
They are based on my experience gained working as a BBC video editor and freelance video editor. I edit using Avid Media Composer software.
Editing overview
Consider your delivery guidelines
Every channel will have its own technical specifications for delivery. These will include file delivery specifications and sound and audio parameters.
For example, here are the technical requirements for Netflix, Sundance, and the BBC. If you don’t know, do some online research and find out.
Post-production workflow
If other people are involved in crafting your film’s post-production, speak to them as early as possible.
This will help you understand the proposed post-production workflow, how that might impact what is required of you, and any timeframes involved.
Post-production timescales
Post-production and editing can be very intense when creating television programmes and films for broadcast.
Editors are usually working under pressure to deliver the best programme possible to a precise duration and transmission deadline.
Refining any edit takes additional time, which may or may not be available depending on the budget, schedule, and delivery timelines.
Seek client approval for edit changes
If you are working with a client or production team, communicate what you would like to do so you can gain their approval before adjusting any edit. Especially if it’s already been signed off.
Make a copy of your saved edits as you progress so you have the previous version to revert to.
Finish the edit
If you are editing projects without any deadlines, you might have as much time as you need to improve your edit.
At some point, you will need to let go and be happy with the edit. That can be a hurdle to cross when starting out editing.
Audio editing tips
Adjusting the timings and pace.
How does the edit flow? Repeatedly watching the edit, or parts of it, will help you determine how it flows. Might adding a pause or space for musical up sound or an audio tighten help with the flow of the story?
Consider if it will be helpful to listen to each track or audio segment isolated to make sure you have not included any erroneous sounds. This can be useful when you have made lots of fine-trimming edits to a contributor sound sequence.
Editing by alternating the sound on different audio tracks, then adding dissolves or mixes as needed, will help you isolate each audio segment. Mixing audio clips across the same tracks can result in unwanted sounds.
Checking for timecode and sync errors
Do any contributor clips have different timecodes between vision and audio? For example, the audio might have been recorded on a different device and not synced with the vision’s timecode.
While the vision and audio might have been synced up at the start of the edit, timeline trimming might have affected this.
If any of the in-vision contributor sync looks rubbery around the lips, check that everything is in sync.
Filling the sound bed
Is the sound bed as full and as relevant as you can make it? Might any additional contributor sound, reactions, music, or sound effects help improve your storytelling?
Tightening any contributor sound. First, ask yourself if tightening the contributor sound further works visually for your edit. If so, removing any gaps, stutters, repeats, or spurious contributor sounds will help tighten the audio, improve the edit flow, and reduce that contributor’s duration.
After fine audio trimming, you might need additional cutaways or another solution to cover those audio cuts. If the contributor is in vision, then you might need to live with the sound as is. If you are editing a multi-camera shoot, you might be able to tighten the audio by editing to a different camera angle.
Creating this extra time in your editing timeline could allow for more of the story to be edited in for the same duration of the film or programme. Of course, you can revert to jump cuts (editing between the same shot after the audio has been edited) if that is your creative desire.
Final mix audio
If you are delivering the final mix, spending more time adjusting the audio track levels to meet your delivery guidelines might improve clarity, engagement, and the viewer playback experience.
Consider adding audio effects to enhance the edit. Perhaps some EQ could help improve some of the recorded sound.
Sending the audio to a sound mixer
If the film or programme is going on for further audio post-production or mixing, then all you have to do is export the final audio (for example, as a .aaf) to send to the audio mixer along with a low-resolution version of the vision edit. This may need to have burnt-in timecode (BITC).
Check if your audio mixer needs a copy of the edit with BITC (burnt-in timecode so the audio mixer has a timecode reference that matches the vision and audio export). In my experience, the first thing an audio mixer will do is strip out any audio work you may have crafted and start afresh, even if you have spent quite some time adjusting the audio so it sounds perfect for viewing by the producer or production executives.
It may be that the final audio mix will then be sent back to you for adding to the high-resolution visuals for final delivery.
Visual editing tips
Adjusting the existing shots
Could any shots be improved by resizing or reframing? Have the rushes been filmed at a higher resolution than what you are delivering?
In Avid, I use FrameFlex to adjust framing as needed. If I am filming at higher resolutions, such as 6K or 4K, and delivering to 1920×1080 HD, I can resize any shots without losing quality.
I can also add some smooth motion of that resized or zoomed-in position between keyframes to add visual interest.
Adding visual FX if they enhance the edit
Would your film be enhanced by adding any visual effects? Might adding a gradient to any shot help draw the eye to a specific visual element?
Colour Grading
Is the film or programme going to be colour-graded? If so, you must consider the workflow and speak with your colourist about what they will want from the edit. Discuss with them which transitions you have edited into the programme and the required look or colour-grading style.
Depending on which software you edited the programme on and which the colourist is using, the required workflow will vary. Colour grading may add edit time to the post-production workflow.
Spelling, grammar, subtitles, titles, credits and positioning
You may have been sent the details of any texts to be added by your client or a member of the production team. Or you may be working on your own.
Getting someone suitable to double-check all of your text-based elements is always a good idea. Put a grid up on your edit monitor to ensure any text positioning is as you envisaged. Check if you are working to any specifications for text-safe areas.
I hope you have found my video editing tips on improving an editing session or your film or video editing helpful. If you have any questions, please get in touch via my website contact form.